You do not have permission to view this post.
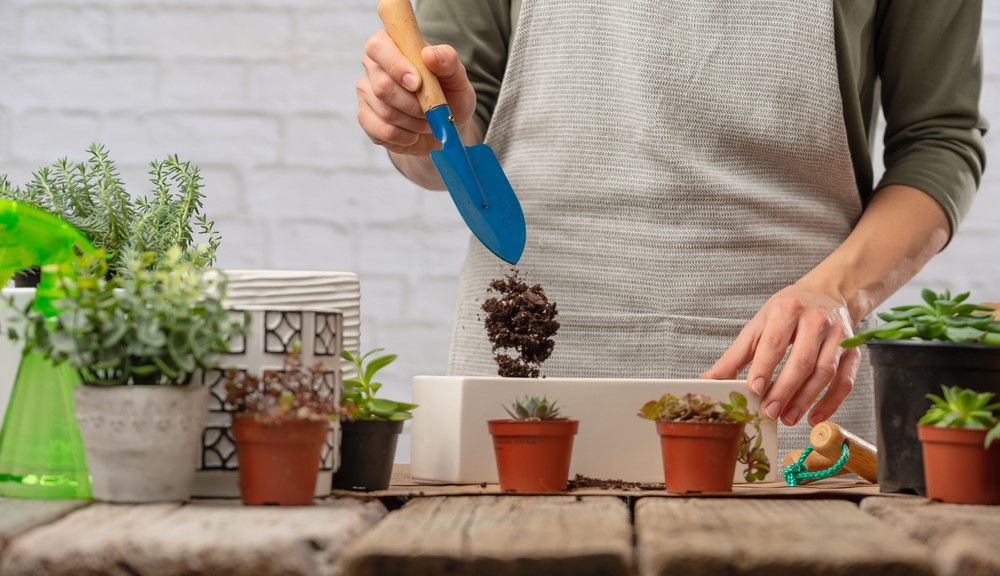
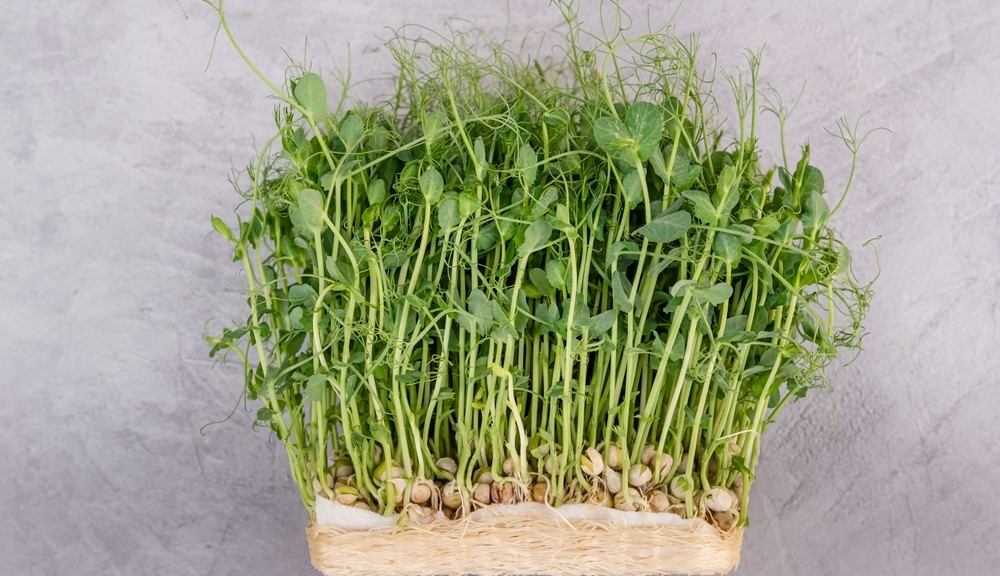
Starting plants from seeds is an exciting and rewarding way to grow a variety of flowers, vegetables, and herbs in your garden. By mastering the art of seed starting, you have the power to nurture tiny seeds into robust plants. Whether you’re a beginner or an experienced gardener, here are some secrets to help you achieve successful seed starting:
- Start with Quality Seeds:
- Choose Reliable Sources: Purchase seeds from reputable suppliers or consider saving seeds from healthy plants in your garden. Look for seeds with good germination rates and check the expiration dates.
- Opt for Organic and Non-GMO: Select organic and non-GMO seeds to ensure you’re growing plants that are free from chemical treatments and genetic modifications.
- Gather the Right Supplies:
- Containers: Use clean and sterile seed trays, pots, or seedling cells with drainage holes. Ensure they are deep enough to accommodate the developing root system.
- Seed Starting Mix: Use a high-quality seed starting mix that provides good drainage and aeration. Avoid using garden soil, which may contain pests and diseases.
- Labels: Label your containers with the plant names and sowing dates to keep track of your seedlings.
- Timing and Germination:
- Know Your Frost Dates: Determine the last frost date in your area to determine the optimal time to start seeds indoors. Consult local gardening resources or use online tools to find this information.
- Follow Seed Packet Instructions: Each seed has its own germination requirements. Pay attention to the instructions on the seed packet regarding depth of planting, temperature, and light conditions.
- Provide Warmth and Moisture: Place your seed trays in a warm location, such as on top of a heat mat or near a heat source. Maintain consistent moisture by misting or using a gentle watering technique.
- Light and Air Circulation:
- Provide Adequate Light: Once the seeds have germinated, provide sufficient light to prevent seedlings from becoming leggy and weak. Use fluorescent grow lights or place seedlings near a bright window.
- Promote Air Circulation: Good air circulation helps prevent diseases and strengthens seedlings. Use a small fan on low or gently brush your hand across the seedlings a few times a day to simulate outdoor breezes.
- Transplanting:
- Timing: Transplant seedlings outdoors when the risk of frost has passed and the soil has warmed up. Harden off the seedlings gradually by exposing them to outdoor conditions for increasing durations over several days.
- Handle Seedlings with Care: When transplanting, hold seedlings by the leaves, not the delicate stems, to avoid damaging them. Plant seedlings at the same depth they were in their containers.
- Provide Proper Care:
- Watering: Keep the soil evenly moist but not waterlogged. Water seedlings from the bottom or use a gentle spray to avoid dislodging the delicate roots.
- Fertilizing: Once the seedlings have developed their first set of true leaves, start feeding them with a diluted organic fertilizer to promote healthy growth. Follow the package instructions for application rates.
- Thinning: If multiple seedlings sprout in a single container, thin them out to give each plant enough space to grow. Choose the strongest seedlings and carefully snip the extra ones at the soil level.
- Monitor and Adjust:
- Observe Your Seedlings: Regularly monitor your seedlings for signs of nutrient deficiencies, pests, or diseases. Make necessary adjustments in watering, lighting, or fertilization to address any issues promptly.
Remember,seed starting requires patience and attention to detail. Not all seeds will germinate successfully, but with practice, you’ll improve your skills and increase your success rate. Enjoy the journey of nurturing your seedlings from the start and witness the transformation of tiny seeds into thriving plants in your garden. Happy seed starting!


